Published: .
“The file is 300 dpi” sounds reassuring. Then the artwork team enlarges the flower to fill a hand cream tube, and the printed proof looks softer than expected. What changed? The useful question was never just the number saved in the image file. It was how many pixels remained available at the size actually being printed.
A hand cream tube artwork image resolution check connects the source image, its crop and its final placement. This guide gives buyers a practical brief for the designer and packaging printer. It does not set a universal resolution requirement or promise a print result. Your printer should confirm the requirements for the selected artwork, printing process and substrate, then identify the proof needed for approval.
Identify Which Artwork Elements Are Raster Images
Separate Photographs from Other Artwork
For hand cream tubes, list the photographs, textured illustrations and other raster elements that need review. Also identify the text, logos and other artwork supplied in the design file. A document can contain several different kinds of content. One acceptable photograph does not establish the quality of every placed image or the treatment of small text.
Ask your designer to identify the actual objects rather than guess from a flattened preview. A photograph can be placed inside a larger layout, and a logo that looks like vector artwork may have been supplied as a small bitmap. The buyer does not need to operate the design software to ask for a clear object-by-object answer.
Request the Source and the Final Placement
Record the image file reference, pixel dimensions, intended printed width and height, crop and layout revision. Include whether the file is linked or embedded in the submitted artwork. Ask which source was used when several similar versions exist. A tiny preview sent for layout discussion should not quietly become the production image simply because it was easy to locate.
Calculate Resolution at the Actual Printed Size
Keep Pixels and Physical Size Together
Image resolution in pixels per inch relates pixel dimensions to physical output size. Adobe’s explanation of image size and resampling describes this relationship and distinguishes changing placement size from adding or removing pixels. For a buyer’s worksheet, record the relevant pixel dimension and divide it by the corresponding printed dimension in inches.
Work Through a Fictional Flower Image
Suppose an illustrative image is 1,200 pixels wide and its complete width is printed at 2 inches. That calculation gives 600 pixels per inch. If the same unchanged width is printed at 4 inches, it gives 300 pixels per inch. Neither result is a tube-printing acceptance rule. These are fictional arithmetic examples showing why placement size belongs in the review.
Convert Millimetres Before Dividing
One inch is 25.4 millimetres. In another fictional example, 900 pixels across a printed width of 50.8 mm means 900 pixels across 2 inches, or 450 ppi. Write the units beside the inputs. Dividing pixels directly by millimetres gives pixels per millimetre, so do not label that result ppi without making the conversion.
| Illustrative source width | Printed width using that source width | Calculated ppi | Meaning of the example |
|---|---|---|---|
| 1,200 pixels | 2 inches | 600 | Same source at a smaller placement |
| 1,200 pixels | 4 inches | 300 | Same source enlarged to twice the width |
| 900 pixels | 50.8 mm, equal to 2 inches | 450 | Physical units converted before division |
| 600 retained pixels | 2 inches | 300 | Calculation based on the retained cropped area |
Check the Crop Before Trusting the Calculation
Use the Pixels That Actually Form the Printed Area
If only part of an image is used, establish which pixels form the visible crop and how large that area becomes in the layout. Do not divide the original full-image width by the cropped object’s printed width unless those quantities describe the same span. Ask the designer to report the effective resolution of the placed image in its actual production layout.
Preserve the Intended Proportions
Record width and height together. If someone changes them independently, a circular flower centre may become oval and the illustration can look stretched even when the pixel count sounds generous. Ask the designer whether the placement preserves the intended proportions. The print proof should represent that approved layout, including the crop, rather than a more flattering full-size source photograph.
Distinguish a Resolution Label from New Image Detail
Ask Whether Resampling Occurred
Changing an image’s resolution setting and changing its pixel data are different operations. Adobe explains that resampling can add or remove pixels, while a size change without resampling preserves the original pixel dimensions. Ask the designer what operation occurred and retain the original source reference. A larger reported pixel count after processing should not be mistaken for a newly captured source photograph.
Evaluate the Actual Image Content
Resolution arithmetic is one field in the review. It does not tell you whether the source is in focus, heavily compressed or suitable for the intended appearance. Ask the printer and designer to inspect the submitted image itself. Avoid approving a blurred source merely because a software dialogue displays the requested number. A simple calculation cannot recreate information missing from the source.
Match the Review to the Selected Printing Process
Confirm What the Printer Needs for This Design
Use the tube printing and artwork service to discuss the selected process and artwork requirements. A full-colour flower with tonal transitions creates a different artwork discussion from a solid single-colour emblem. Ask which file specifications, colour handling and proof conditions apply to the proposed decoration. Obtain the printer’s requirements for this job instead of copying a generic web-image checklist.
Keep Tube and Carton Requirements Separate
If the design extends onto a matching printed carton, record the image’s placement size for that artwork too. The same source can be used at different sizes on the tube and box. Ask both production parties to confirm their own requirements and review references. Matching brand artwork does not make the two substrates or printing processes identical.
Preserve Small Text and Logos Deliberately
Ask the artwork team how text and logos are represented in the supplied production file, including any conversion needed for the agreed workflow. Check the final version on a representative proof. A sharp flower does not establish readable instructions or a correctly reproduced logo. These elements should have their own review questions even when they share the same document.
Request a Proof That Answers the Buyer’s Question
State the Proof’s Intended Role
Through printed sample development, ask what the proposed sample can represent. Is it a layout check, a colour reference or a print produced using the intended process and substrate? Identify any differences from production. A screen image can help discuss composition, but your buying decision may need a physical reference that shows the appearance at the intended scale.
Inspect the Agreed Design at Its Intended Size
Compare the proof with the approved artwork reference. Review the flower detail, crop, proportions and wording under the agreed conditions. Record the observation, reviewer and decision. Do not claim that a poster on this page demonstrates a resolution threshold: it is an appearance illustration, not a measured comparison of printed specimens or evidence of an accepted production process.
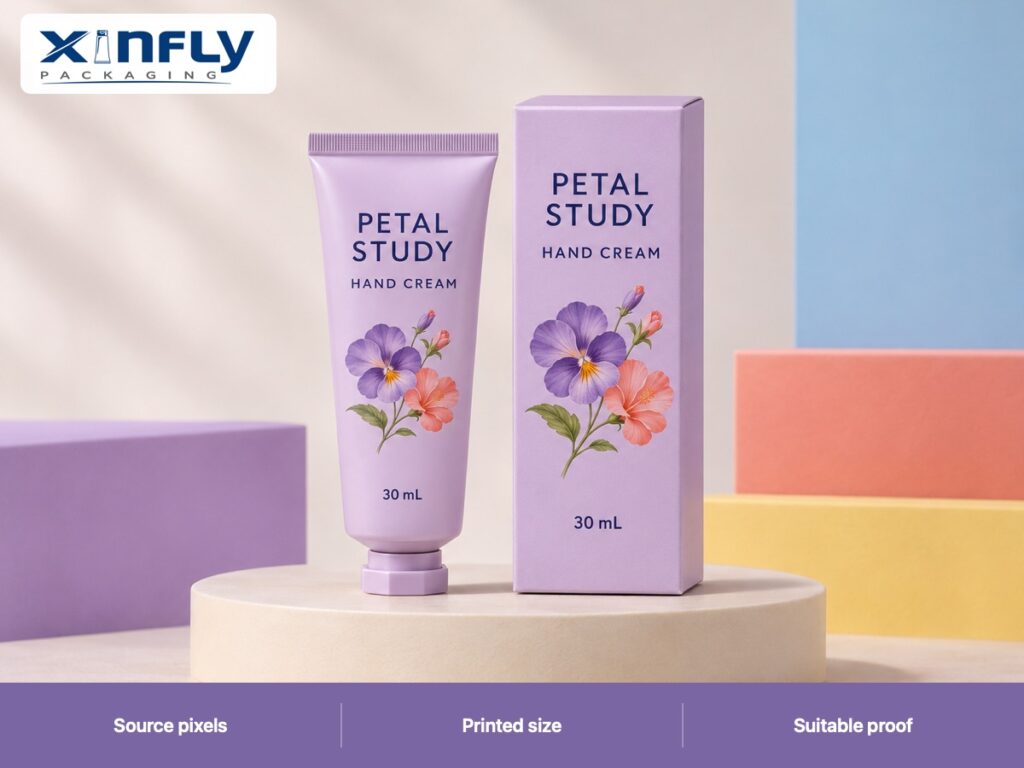
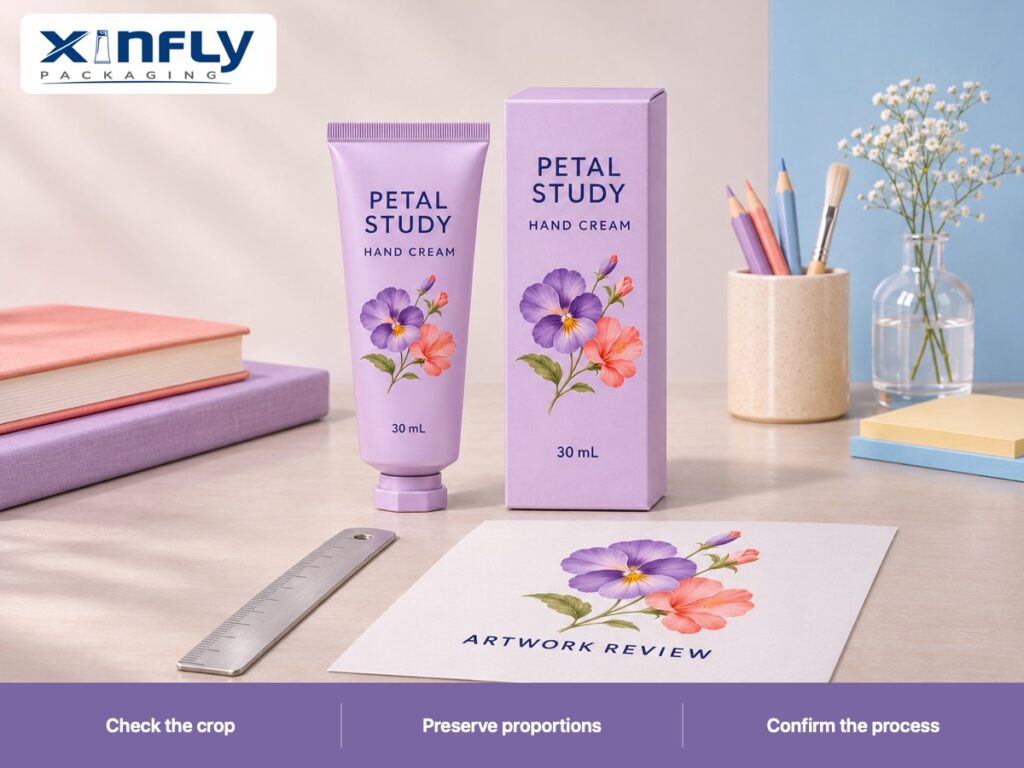
The illustrations use a fictional PETAL STUDY hand cream design. A lavender PBL-style body has a moulded shoulder, straight crimped display tail and short faceted screw cap. Navy wording and a violet-and-coral flower use a full-colour offset-print-style appearance. The carton shares the wording and flower. These renderings communicate the intended design family, not the actual layer construction of a supplied sample.

Keep the Approval Connected to the Exported File
| Checkpoint | Information to preserve | Question for the responsible party |
|---|---|---|
| Source image | File identity and pixel dimensions | Is this the intended original source? |
| Crop and placement | Retained area and printed dimensions | Does the resolution calculation describe the visible span? |
| Production layout | Document reference and revision | Is this the layout the printer will use? |
| Image processing | Resampling or other relevant changes | What changed from the original source? |
| Printer requirements | Job-specific file and output instructions | Are the submitted assets suitable for this process? |
| Proof | Specimen identity and production differences | What can this proof establish? |
| Exported production file | Approved version and final checks | Did export preserve the reviewed content and placement? |
Ask What Changed During Export
The approved layout and exported production file should remain identifiable as a pair. Ask the artwork team to confirm any relevant export settings or image changes within its workflow. If a replacement image or different crop is introduced after proof approval, have the affected appearance decision reviewed again. Do not assume an unchanged product name means the file content is unchanged.
Make the Reorder Reference Easy to Find
Archive the source references, printer requirements, approved layout, proof record and released production file together. Keep superseded files clearly identified. When reordering empty hand cream tubes, check whether the artwork, process or substrate has changed before reusing the old approval. A helpful archive tells the next buyer why a reference was accepted, not merely that an approval email once existed.
Prepare the RFQ for Xinfly Packaging
Send the proposed tube material, capacity, closure, surface finish and quantity with your hand cream tube packaging enquiry. Include the layout and source-image information, then ask Xinfly Packaging to confirm the intended printing process and proof options. Keep any proposed technical requirement marked for confirmation until the relevant printer has reviewed the actual artwork and construction.
If the desired appearance depends on fine photographic detail, explain which feature matters to the brand. That gives the design and printing teams a useful review target. Ask for a scoped answer about the proposed file and proof, rather than a general promise that every submitted image will print well. Agree any development costs and timing for the actual project.
Frequently Asked Questions
Is a File Labelled 300 dpi Automatically Ready for Tube Printing?
No. Establish the source pixel dimensions, crop and final printed size, then ask the printer to confirm the requirements for the selected process and substrate. A saved resolution label alone does not describe all those inputs or establish the source image’s quality.
Which Width Belongs in the Calculation After Cropping?
Use corresponding spans: the pixels that form the retained visible width and the printed width of that same area. Ask the designer to confirm the effective resolution in the final layout when the cropping or placement is unclear.
Does Increasing Pixel Dimensions Recover the Original Detail?
Do not treat a resampled file as a new original capture. Record the processing and have the designer and printer evaluate the actual result. A changed number does not itself demonstrate that the source detail needed for the intended print has been restored.
Can the Tube and Carton Use the Same Image File?
They may share a source if it is suitable for both jobs, but review each placement size and each printer’s requirements separately. The box may use a different crop, scale or printing process from the tube.
What Should Be Saved After Artwork Approval?
Keep the source-image reference, crop, placement dimensions, production layout, printer requirements, proof and authorised release together. Identify the final exported file and record changes that affect the approved appearance before a reorder.
Conclusion
Reliable artwork approval starts with the actual image at its actual printed size. Connect pixel dimensions, crop and placement, then review a proof suited to the proposed process. Xinfly Packaging can discuss the tube construction, decoration and sample brief so your hand cream design reaches production with clear references and a documented appearance decision.