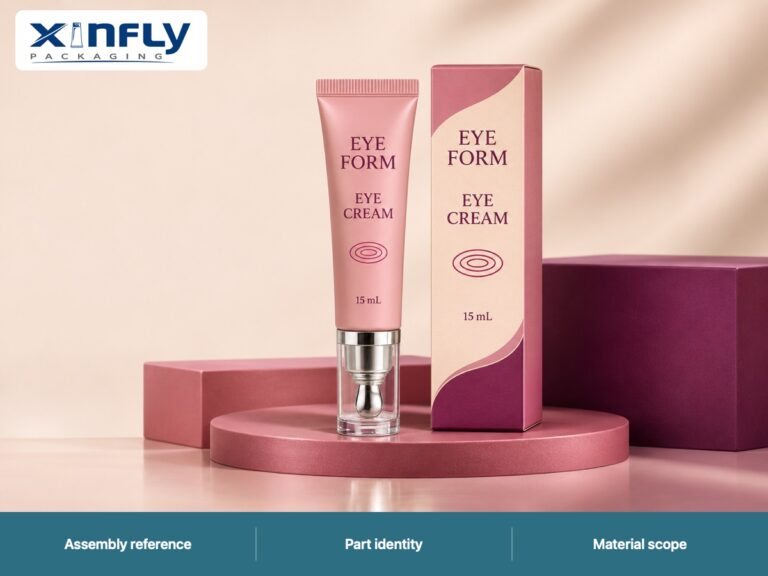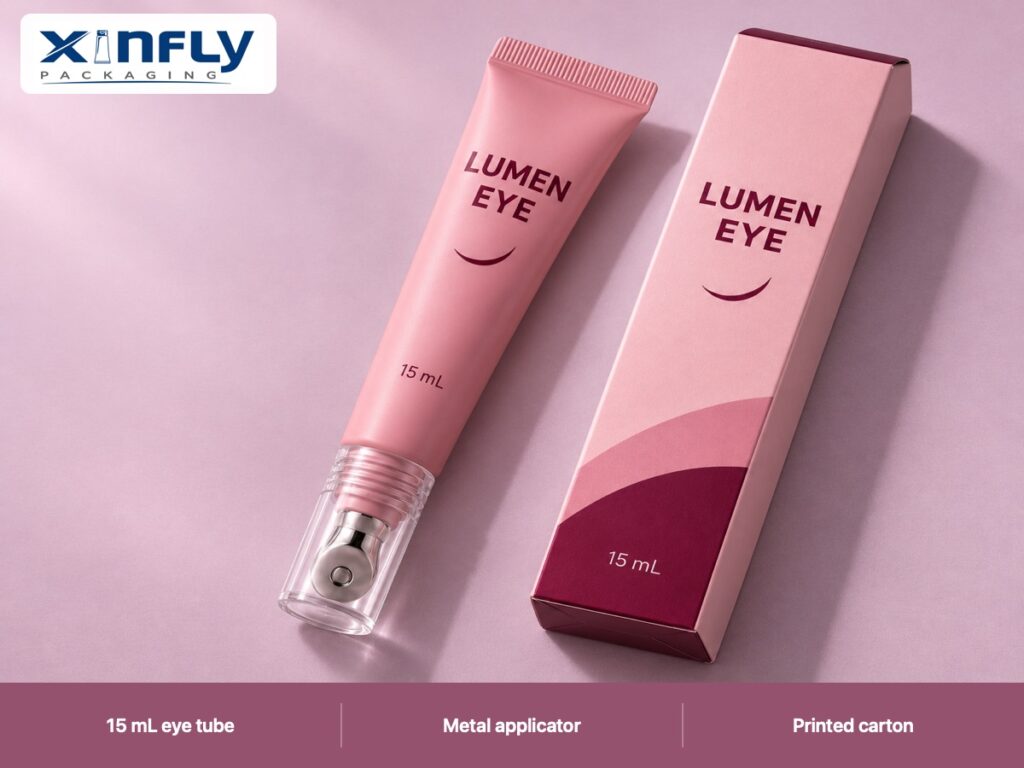
The metal applicator is the reason many buyers notice a 15 mL eye cream tube. It is also the part most likely to be overlooked when a quotation says only “tube with metal tip.” The applicator must mate with the neck, keep the outlet clean, fit under its protective cap and work with the intended cream. If one interface changes after sampling, the elegant pack in the approval photo may not be the pack that reaches the shelf.
This 15 mL eye cream metal applicator cap fit guide is an approval plan for packaging buyers and fillers comparing eye cream tube packaging. The pictured configuration is a slim extruded PE tube with a straight heat-sealed tail, molded threaded neck, metal applicator, clear protective screw cap, burgundy one-color screen print and matching printed carton. It illustrates a configuration; it is not a customer product or test result. Xinfly Packaging's eye cream tube with applicator head page is the commercial starting point for a 15 mL eye cream tube with metal applicator.
Define the Applicator as an Assembly
Name Every Contact Surface
Ask for a component drawing that shows the tube body, molded neck, applicator insert or head, outlet, cap thread and any internal seal. A “metal tip” can describe several shapes and attachment methods. Record the material specification supplied for the part, the exact mating geometry and the revision of each component. The tube supplier and filler should agree who assembles the applicator and who inspects it after filling.
Confirm the Cream and Outlet Together
The formula affects how readily product reaches the applicator. Ask the formulation team for the intended viscosity range, fill amount and any ingredients requiring compatibility checks. Then test a filled sample with the proposed outlet. A neat bead on a photo says little about repeat dispensing or residue. Keep the formula batch, fill mass and conditioning time in the test log. Use the intended cream for final approval, not a convenient water surrogate.
Distinguish Surface Feel From Performance Claims
Metal may feel different from plastic when touched, but do not promise a cooling or therapeutic result without product-specific evidence. For procurement, test the mechanical questions first: finish quality, edge smoothness, attachment, cleanability and repeat dispensing. The user experience can be assessed with a defined panel later, with the actual formula and instructions. Keep marketing claims outside the component drawing.
| Component | Record | Potential mismatch to catch |
|---|---|---|
| Tube body | PE construction, diameter, print and tail seal | Wrong fill or display length |
| Molded neck | Thread, bore, shoulder and revision | Applicator or cap that does not seat |
| Metal applicator | Shape, finish, attachment and outlet | Sharp edge, movement or dispensing variation |
| Clear cap | Thread, inside height and closure detail | Contact with tip or incomplete closure |
| Folding carton | Folded inside size and printed artwork | Cap scuff, crushed edge or hidden name |
Fit the Cap Around the Real Tip
Check Internal Clearance
Fit the transparent screw cap on several assembled tubes. Note whether it touches the applicator, drags on the neck or cross-threads. If the cap has an internal plug, confirm which surface makes the seal. Measure the inside height and compare it with the approved head projection. The cap must be judged in the fully seated position, not balanced loosely on the neck for a photograph.
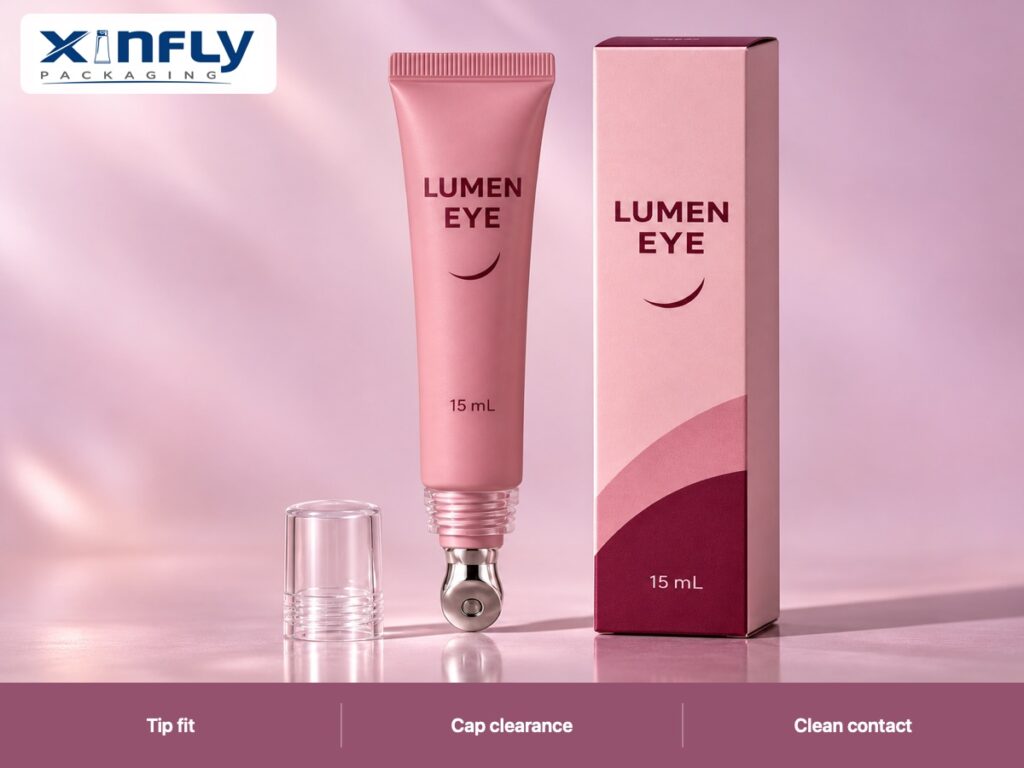
Compare Closing Action Before and After Use
Open and close clean samples first. Then dispense the intended cream, wipe or do not wipe the tip according to normal use, and repeat. Photograph residue around the thread and applicator base. A cap that works on a clean dry sample may feel different when cream reaches the thread. Define with quality what amount and location of residue is acceptable. If the tube travels in a handbag, include that orientation in the storage trial.
Inspect the Metal Surface and Attachment
Check the head under good light for burrs, scratches, plating damage or movement relative to the neck. A simple visual check is an early screen, not proof of material compatibility. Ask the supplier what inspection method and acceptance criteria it proposes for the actual part. If a metal head is sourced separately, request part identification and traceability so a later substitute does not quietly change the approved feel or fit.
Isolate the Source of Any Leak
Residue inside a protective cap can come from the outlet after use, the applicator joint or the tube seal elsewhere. Start with clean identified samples and record their orientation. Photograph the first wet area, then repeat with a fresh unit. Do not call a package “leak proof” because one cap stayed clean overnight. The conclusion should name the exact formula, tube, head, cap and conditions tested.
Test the Carton and Vanity Experience
Fold the Actual Printed Box
The pictured LUMEN EYE carton repeats the burgundy crescent and product name on the rose tube. Approve a physical carton printed on the proposed board. Check that the clear cap does not hit an internal flap and that the metal head is protected when the carton is handled. The carton should open without requiring a customer to pull on the applicator. Measure the **finished assembly**, not just the empty tube body.
Check the First Use and the Last Use
Ask a tester to open the carton, remove the tube, unscrew the cap and dispense without coaching. Where do fingers rest? Does the cap have enough grip? Near the end of use, does the user have to fold the PE body in a way that stresses the neck or print? Run the same exercise with the actual cream. A good-looking metal head is only one element of the total experience.
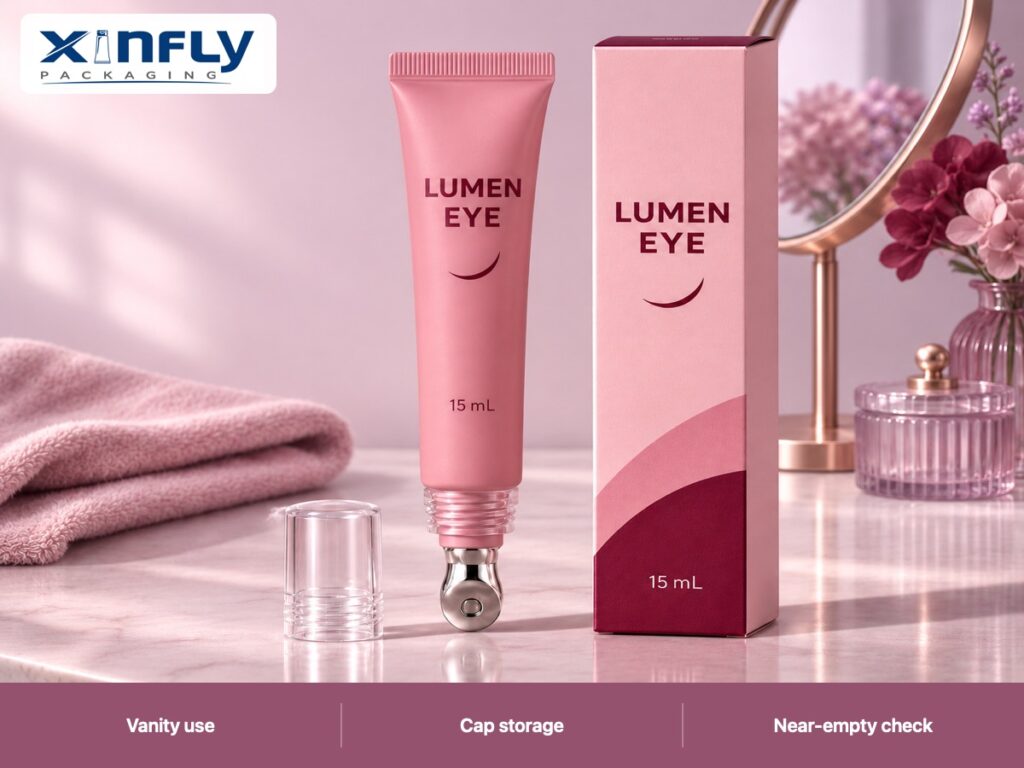
| Check | Test condition to define | Record before approval |
|---|---|---|
| Applicator fit | Assembled neck and head from quoted parts | Movement, seating and surface finish |
| Cap clearance | Clean and normally used samples | Thread action and any tip contact |
| Dispensing | Intended formula, fill and use sequence | Dose appearance and residue location |
| Storage | Agreed orientation and duration | First wet point and cap cleanliness |
| Carton | Production board and printed artwork | Insertion, removal and cap protection |
Ask for a Quote That Matches the Sample
Include the Head and Cap in the Bill of Materials
State whether the quotation includes the tube body, molded neck, metal applicator, clear cap, printing and carton. Ask who owns each part drawing and who performs assembly. If a supplier quotes only the empty tube, the apparent price difference may be a missing applicator. Keep the sample identification and component revisions with the quote. Ask for a paired sample if the supplier proposes another metal finish or cap material.
Approve the One-Color Print on the Final Tube
The illustrated burgundy artwork is a simple screen-print concept on a rose PE body. Confirm the printable area, registration around the slim tube and actual color against a physical proof. Keep critical text away from the tail seal and the gripping area if rub testing shows a problem. Use tube decoration guidance to prepare the artwork, then approve a printed and filled component set rather than a digital rendering alone.
Share the Application Brief With Xinfly Packaging
Provide the formula type, target fill, tube dimensions, head shape, cap preference, print files, carton dieline and intended market. Ask for the exact differences between the first sample and the quoted production assembly. Xinfly Packaging can review sample development and the relevant applicator options against that brief. Send your eye-cream packaging inquiry with a drawing or photo of the desired head.
Compare Two Applicator Proposals Fairly
If two suppliers offer different metal heads, use the same cream batch, nominal fill and user sequence for both. Label the samples with codes so participants focus on the application rather than the supplier name. Ask quality to record the head material and finish, outlet geometry, cap fit and assembly method before a user trial. A wider tip may feel smoother but also change how product gathers around the edge. Record the actual behavior instead of assuming a style preference proves one engineering design is better.
Specify a Cleaning and Inspection Routine
During a sample trial, clean the applicator only as a normal user would. If testers wipe it after each use, record that. If the cap is closed without wiping, include that condition too. Inspect the head under consistent lighting for residue and surface damage. Use a fresh control to tell manufacturing marks from use marks. At receiving, purchasing can request the supplier's visual acceptance criteria and compare incoming heads with the signed sample. This is especially useful when small metal parts come from a different source than the tube body.
Check Shipment Identification Before Filling
When the empty components arrive, ask how the body, applicator and cap lots are identified. If they ship in separate cartons, the filler needs a way to pair the approved parts and isolate a questionable batch. Compare a small incoming sample against the retained assembled reference: verify the print, head finish, cap seating and component codes. Record any visible difference before filling, when it is easiest to determine which component changed. A tidy receiving record is far more useful than discovering a mismatched cap after several finished cases have been packed.
Plan for a Formula or Head Change
An apparently minor change in cream viscosity, metal finish, applicator attachment or clear cap can affect the assembled result. Maintain a change list: what changed, why, and which earlier checks it may invalidate. Ask the formulation team to confirm whether compatibility must be repeated. Ask the packaging team whether cap clearance, dispensing and carton fit must be repeated. A clean change record protects the project from approving a new component solely because it resembles the old one in a photograph.
Frequently Asked Questions
Can I approve a metal head on an empty tube?
Use an empty sample for fit and surface inspection, then use the intended filled formula for dispensing, residue and storage approval. Keep those conclusions separate.
Does a clear cap always protect the metal surface?
Only if its inside geometry and closing action leave the intended clearance. Check the fully closed cap on assembled samples and after normal handling.
Is the applicator material a substitute for formula compatibility testing?
No. Ask for the exact material and finish specification, then have the formula team assess the intended cream against the assembled contact surfaces.
What should I do if cream appears inside the cap?
Record the first wet location and use history. Repeat with a clean matched sample to distinguish normal outlet residue from leakage at a joint or cap interface.
Can the same applicator be used on another 15 mL body?
Capacity alone does not establish neck compatibility. Compare the neck, attachment method, outlet and protective cap drawings, then test the new filled assembly.
Conclusion
An eye cream applicator quote is only as precise as its component list. Freeze the tube, neck, metal head and cap revisions; test the intended formula and carton; and preserve the accepted filled sample. That gives purchasing a real basis for comparing suppliers and checking the next delivery.